Mele I7
| Mele I7 | |
|---|---|
 | |
| Manufacturer | Mele |
| Dimensions | 158 mm x 104 mm x 38 mm |
| Release Date | July 2014 |
| Website | Mele I7 Product Page |
| Specifications | |
| SoC | A31 @ 1 GHz |
| DRAM | 1GiB DDR3 @ 312 MHz (4x H5TQ2G63DFR-PBC) |
| NAND | 8GB |
| Power | DC 5V @ 2A |
| Features | |
| Video | HDMI (Type A - full) |
| Audio | 3.5 mm headphone plug, HDMI, SPDIF |
| Network | WiFi 802.11 b/g/n (Realtek RTL8188ETV), 10/100Mbps Ethernet (Realtek RTL8201CP) |
| Storage | Full-size SD |
| USB | 3 x USB 2.0 Host, 1 x USB 2.0 OTG |
| Other | IRDA |
| Headers | UART |
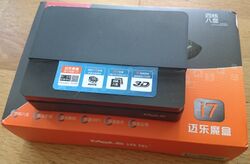
The Mele I7 is an A31 based HTPC housed in the case of the Mele A2000.
Identification
On the connector side of the device, the follow text can be read:
- 迈乐魔盒 (客厅电脑) (meaning "Mele magic box (living room computer)")
- 型号: I7 (型号 means "model")
- www.mele.cn
- Designed by mele
In android, under Settings->About Device, you will find:
- Model Number: MeLE I7
- Build Number: CHOA-V1.0.3
Sunxi support
Current status
Like all A31 devices, the Mele I7 is not supported by our sunxi u-boot and sunxi kernel, but it is supported by Mainline U-Boot and Mainline Kernel(partly), so we hope to provide an A31 specific Manual build howto soon.
Images
HW-Pack
BSP
Manual build
- For building u-boot, use the Mele I7 target (make Mele_I7_defconfig). the memory register dump can be found in our sunxi-boards repository.
- The .fex file can be found in sunxi-boards as mele_i7.fex
Further instructions will be available soon in our A31 Manual build howto.
Mainline kernel
Use the sun6i-a31-i7.dts device-tree file for the mainline kernel.
Tips, Tricks, Caveats
FEL mode
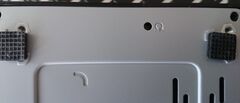
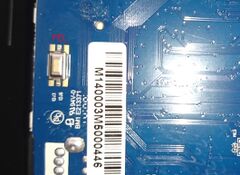
There is a FEL button available through a hole on the bottom of the device that can be used to trigger FEL mode. Connect via the OTG with no power to the board.
Android ADB access
Standard ADB does not work out of the box. You need to add the vendor id 0x18d1 to the adb usb config file. Attach via the OTG connector.
Adding a eMMC/SD slot
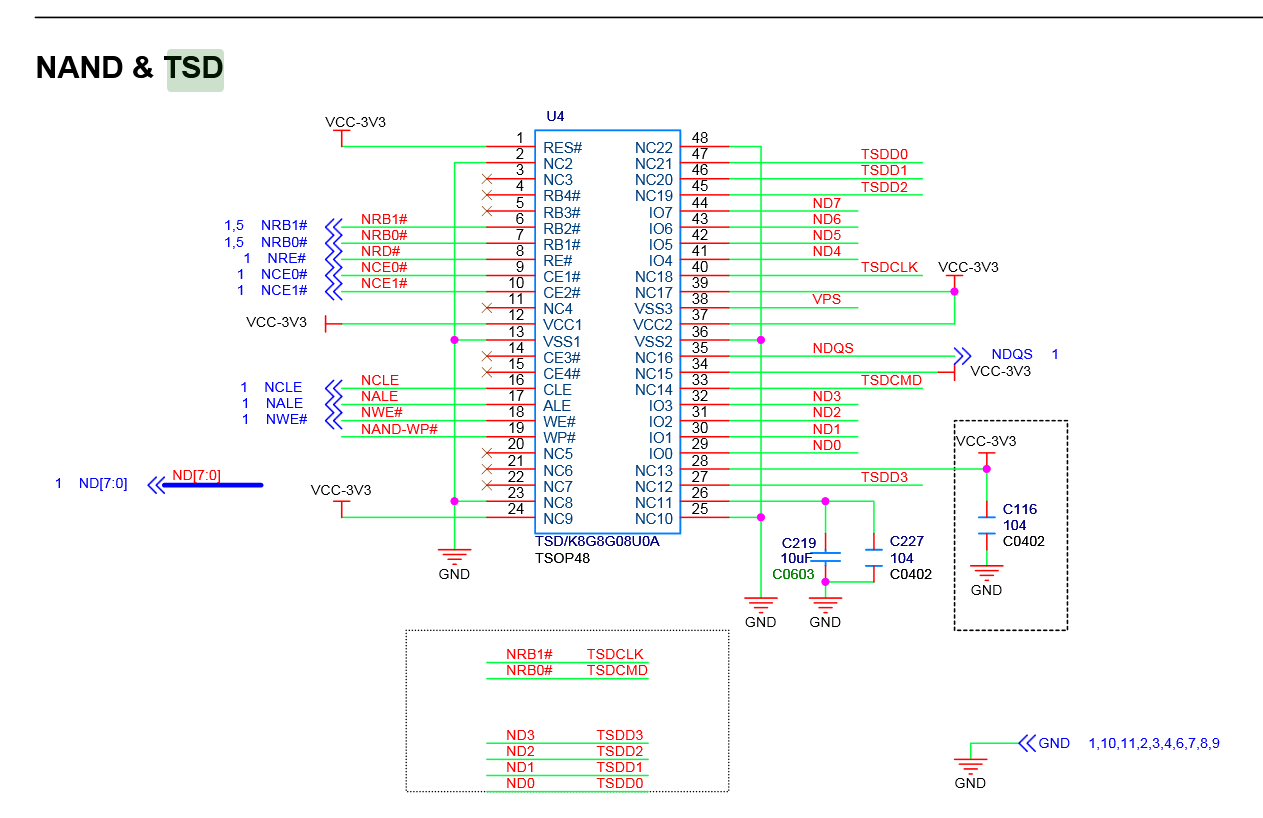
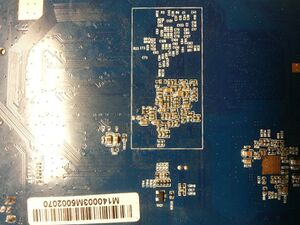
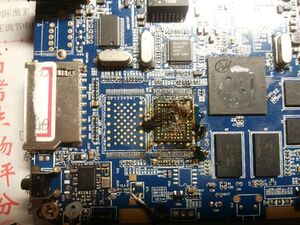
As you can see in this pinout, the Mele I7 has a complex-NAND mounter. A typical NAND flash can be soldered on it. You can also solder a SD_SLOT or a eMMC/tSD flash on it.
If you don't want to be trapped on the bad A31 MTD NAND flash driver, you can simply let the NAND out, and solder or wire a eMMC flash on it.
This is a Mele i7 with a Sandisk 4GB eMMC on it. But it won't boot from the eMMC flash.
The BootSelect Jumper is realized by two resistors on the bottom of the PCB which are marked 9R16 and 9R17.
By setting this jumper to one of the following values you can get difference devices to boot:
| 9R16 | 9R17 | Action |
|---|---|---|
| NC | NC | Boot from NAND |
| NC | 0R | Boot from 4-bit eMMC/SD |
| 0R | NC | Boot from 8-bit eMMC |
| 0R | 0R | Boot from SPI Flash which is on the north of the A31 |
Adding a serial port
Device disassembly
Unscrew the two screws on the rear of the device and the four screws on the base. The case then slides off.
Locating the UART
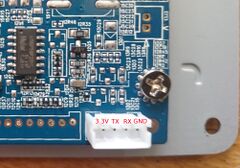
The Mele I7 has a 4 pin 2.0 pitch JST-PH connector available for its UART0 port. This is the same as some 90s analog audio cables which ran from a CDROM to the sound card. More information is available at our UART howto.
Pictures
Also known as
See also
- Mele M9: A 2GiB RAM 16GiB ROM HTPC from the same company using the same SOC. Comes in a newer style case.
- Mele A1000G Quad: A 2GiB RAM 16GiB ROM HTPC from the same company using the same SOC.
- Mele A2000: The original Mele with this case design.
